Sunday, February 26, 2012

Impossible Hair - continued

Ok so we continued on our journey with the wonderful "impossible hair" children of my dear friend.  May I add that her children are my kid's friends and very patient kids :-)  my favorite type of models!

Here was hairdo #2 on her eldest that was featured in my last post... the hairdo was also previously shown.... but I wanted to show that it could be done on all types of hair.  I think I called it "To Creative To Name" on my post.

Again, because of her frizzy hair we simply used serum

Now this time I wanted to toss in a ribbon.  Her mom just learned about Clare's bows and so I wanted to show her an option she could use right now.  Here is a ribbon hint - When you cut the ribbon, put a very thin coat of clear nail polish (or clear sparkle nail polish - my girls love that) at the ends... it prevents it from fraying and allows you to reuse it.  Also tie it to the rubber band BEFORE putting the rubber band on the hair... yes, this usually means adding a second rubber band, but it makes for a prettier bow, a bow that stays and it allows you to reposition the bow without a problem :-)


My Child is AMAZING but their hair is IMPOSSIBLE

Every parent will tell you that their child is a gifted genius, but somehow their child's hair seems to be the most impossible thing ever!  The way Roxy described her kids I thought I was taking on the biggest challenges ever!  Roxy had never truly seen my hair down when I wake up in the morning... Today I let my hair down for her... Ummm she will never say anything again!  So, with her permission I will show you her eldest daughter's before picture taken at school a few months ago with Dani.....


Yes there is frizz and a ton of curl, but a bit of serum and WA-LA it's GONE!  

We were able to do 2 hair styles on this "IMPOSSIBLE" hair in about 30 minutes.  This included my teaching.  

So here is hairdo #1  I wanted simple because our goal was to make sure it was something that could be duplicated for school.  

Step 1:  I took a spray bottle and made her hair wet.  Then using a fine toothed comb I combed it straight back in order to make a part right down the center.  When you do this the hair literally parts itself.  Then I used the edge of the comb to complete what I call the "T" part (picture the top of the T is ear to ear).

Step 2:  Using scrunchies, loose rubber bands or something similar I hold back the bottom of the hair so it doesn't get mixed in and do the same for one side of the T.  I comb out the other side with the find toothed comb and apply serum.  Then I begin a simple braid (I prefer to make them tight - especially on hair that likes to frizz).  Fishtail braids also work well with this hairdo).  At the end of the braid I secure it with a rubber band.

Step 3:  Repeat Step 3 with the other side.  When finished it should look like this: 


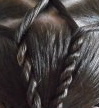
Step 4:  Now this may sound odd but... Take the two braids and tie your child's hair in a knot.. Yes, go ahead.. tie it in a good 'ol knot!  Btw... this is a great way to style hair when you have messed up another hairdo and don't know what else to do, but this time we actually meant to do it!  If their hair is very long, like hers, do it twice.


Step 5:   Secure the ends of the braids... with a rubber band.. get one that blends with your child's hair color as much as possible. 
  
If you have been reading my blog up till this point you can guess STEP 6.....

PULL OUT A BEAUTIFUL BOW!!!!  
Attach the bow to cover the rubber bands


Never Quit - REINVENT!!

So today was a fun hair day!  A friend of mine came over so I could teach her some hairdos and it was so fun... especially when I showed her how easy some things really were.  She had "warned" me about the difficult hair her daughters had... ummm I guess she hadn't truly seen my Q-fro.  That is the loving name I have given my Cuban Afro... because once you see this head of hair untamed no one will ever tell me their hair is too hard to style!

As I spoke to her and was showing her a few styles one of the greatest things that happened is that she witnessed me mess up.  Yes this was GREAT!  So many times we as moms start with an idea and when it goes wrong we get so stressed and frustrated that we take the whole thing apart and have our kid grab a headband or toss their hair into a ponytail!  Well.... here are a few issues with that:

1.  We don't think about our kid!  Our daughters who have been sitting patiently now have nothing to show for it and I can tell you when I have done this I have NEVER thanked them because I am so mad at myself that I never think of them!

2.  I haven't learned anything except to QUIT.

3.  I may have just thrown away a great invention.

So... today was a really great example.  Instead of starting over or giving up I did what has taken me years to do.... I put a rubber band at the point where I had to stop I stepped back and I looked at what I had to work with.  I stopped thinking of the original hair style because I already knew that wasn't going to happen!  Well.... what do you know... "Just a little twirl here and a yank there and voila!  You've got an aesthetically pleasing configuration of hair that humans go nuts over!" (Thank you Scuttle for those words!)

So don't give up... trust me... it took me forever to figure this out... then it took me even longer for my kids to not think that grunting was a regular part of hair styling!!  But most of my styles are mistakes that I get creative with!  That is also why you will notice I don't take picture of my kids with their hair full of spray or serum.... I take the shots on my phone when they are rushing to school.  Real shots.. because it is what yours will look like. I always hated seeing blogs where the kids hair looks perfect because my kids will NEVER leave the house without a frizz here and there or without flyaways, but they will at least feel like mom cared enough to get creative LOL

Here is my original thought vs. my mistake turned hairdo!   A special THANK YOU to Princess Hair that I found on Pinterest that gave me this original idea.  I did copy their picture and want to give them credit.  My work will NEVER look like theirs and want to make sure you know the difference!!!


Here is Princess Hairstyle's Image.... Cute Right?!


Although I have done these twist a ton of times... today was not my twist day.  They looked more like knots, hairs were coming out all over the place and the whole thing was falling apart.  Then Bella's hair being so long that it was pulling the whole thing down so I started to make buns... that didn't work, so I ended up braiding up into a bun... Ughh finally I thought, wait, messy buns are in every cute little syle I see, So I pulled the braids up into a messy little bun, wrapped ribbon around it and it turned out so cute... Roxy, you can comment and back me up :-)  I didn't take as many pics of the whole look.  I wish I had.
I wish I had taken MORE of the screw up but I was bust thinking of
my next move... but you can see some of my work in progress here
If your child has long hair or a ton of hair this is a great way to
decrease the size of a bun... braid the bottom up so the amount
of hair in the bun is less!
If you have seen my other french twist braids you can see
what a mess I made of these... some good parts but not the same
and the one on the right... Humm I can't even tell you what I was doing there!  
I added this just to show you that YES I do bribe my kids
to get them to model so often!  Humm and maybe to show you
how OFF my part was!  Later I will show you a much better way I did this with Dani! 


Friday, February 24, 2012

Triangle Bun


Triangle Bun 

You begin this hairdo much like the Spider I did a few weeks back.  However, this one doesn't go around the entire head.  With this "web" we are simply going ear to ear and there are about three variations.  I am only showing one here, but I hope to do the other two in the coming days and be able to show those as well.  

Begin by making a ponytail leaving about 1 1/2 to 2 inches of hair between the hairline and the beginning of the ponytail line.  

Now make sections in the hair that you left out of the ponytail.  I like to make triangle-ish looking sections... you can make them in squares, triangles, or whatever you wish... I like the look when they aren't perfect looking.  Make a small ponytail from each section.  

Split the hair from each ponytail in half and (like the spider) join the sections together.... here are where the variations come in:
This was my "in a hurry" variation


      1.  I was in a hurry so I joined them into simply a new ponytail
      2.  Join them into a braid or a fishtail   (sorry no picture to post) 

      3.  This is the best looking one and my FAVORITE:  Do a twisting braid with each joined strand!

My Favorite... Will do the
full hairdo soon and post!


As you approach the end you are left AGAIN with 2 options: 

Option 1:  Do a single hair twist and make a bun (pictured here) Secure the bun with a strong rubber band and then a cute hair clip or bow

Option 2:  From the ponytail section hair into two equal parts.  Split each "part" into two more equal parts.  From this you can create TWO twist braids tie them together in a knot... yes, a knot and secure them with a bow!  I will do this over the weekend - it's my favorite!  (and it goes perfect if you do Option 3 above!) 
Twist braid prior to making bun
Securing the bottom of bun with another amazing BOW!


The Pigtail Weave

Well as you know your first attempt if never your perfect one and when your first attempt is on a 6 year old at 7:30 a.m., well... need I go on, but it went better than planned.... I wanted to do what I call a twisting weave and of course we had to end it with the perfect finishing touch for any 6 year old... PIGGY TAILS! 


Begin by sectioning the hair as if to do Pigtails.  Then section about 1 1/2 to 2 inches off the front and band each side together to keep it out of the way.  


Make another 1 1/2 to 2 inch section and again band it together to keep it separated.


Do the same with the remainder of the hair.


Then, take the right side of the middle section you have created and section it into 4 sections and make mini ponytails.  Do the same on the left.  


Take the "mini ponytails" from the left twist them and join them with the lower pigtail on the right
Then take the 1st mini pony on the right (the one closest to the part) lay it over the first left piggy, thread it under the second one, over the third and under the forth ... then join with the Left lower Pigtail.  Then take the second mini and do the opposite... thread it under the first left piggy, over the second, under the third, over the forth and join.  The third will mimic the first and the forth will mimic the second......


Lastly you have to deal with the hair in the front.... the easiest part!  I like applying a serum or gel to this part as otherwise you may have flyaways... simply take the right side, comb tightly to the side and back and join into piggy (repeat with left).  Hairspray, add a bow and look fabulous!  


What I have learned - I always learn a thing or two... I would have done two things:


I would have made the "mini" ponytails a bit thicker and I would have pulled them a bit tighter.  But I like the look.  I may have also pulled a few hairs forward and curled some ringlets for a younger look in the front :-) 

Variation of the last one.... for my creative spunky one!

Dani has flare and fashion and can pull off styles that no one else can.  I don't know how she does it, but it must be how some of these runway models can wear a potato sack and people clap cause they actually look amazing!  I do it and I will get arrested and placed in a psychiatric ward :-)

So with Dani sometimes I have to take the traditional hairdo and simply tweak it a bit or add some flare....


So I copied the same one I did with her sister, but instead of having all the initial ponytails pull to one side I pulled the first one to the left, the second one to the right and so on and so forth....


However, as edgy as she wishes to be, she is still my pink princess, so I still secured the style with her favorite "Pink Diamond Cheetah Bow" as she calls it.  I refuse to tell her it isn't a diamond!  (Thank you Custom Bows by Clare for that bow...)

Dani has a much more sensitive scalp and tends to be more emotional so I rarely try hairdos on her unless I know I have a good handle on the style or she is really watching something great... A good bribe never hurts!  So the fact that I did this one and the post prior to this in 30 minutes, got them in the car and left our driveway in 30 minutes says a lot!  We won't dwell on the fact that my sunglasses covered my make-up less eyes and I was in my jammies (Thank goodness they look like my sweats!)

ADVICE:  Take into consideration your child's personality when doing their hair.  I am guilty of forgetting to do this and what begins as something fun ends in a stress-filled yelling match... It isn't worth it.  Now I have learned to prepare, and what entertains her.  I also know that when she sees the final picture before I start the hairdo she is excited and much easier to work with!! 

Thursday, February 23, 2012

Too creative to name... or too crazy to name - You Pick!

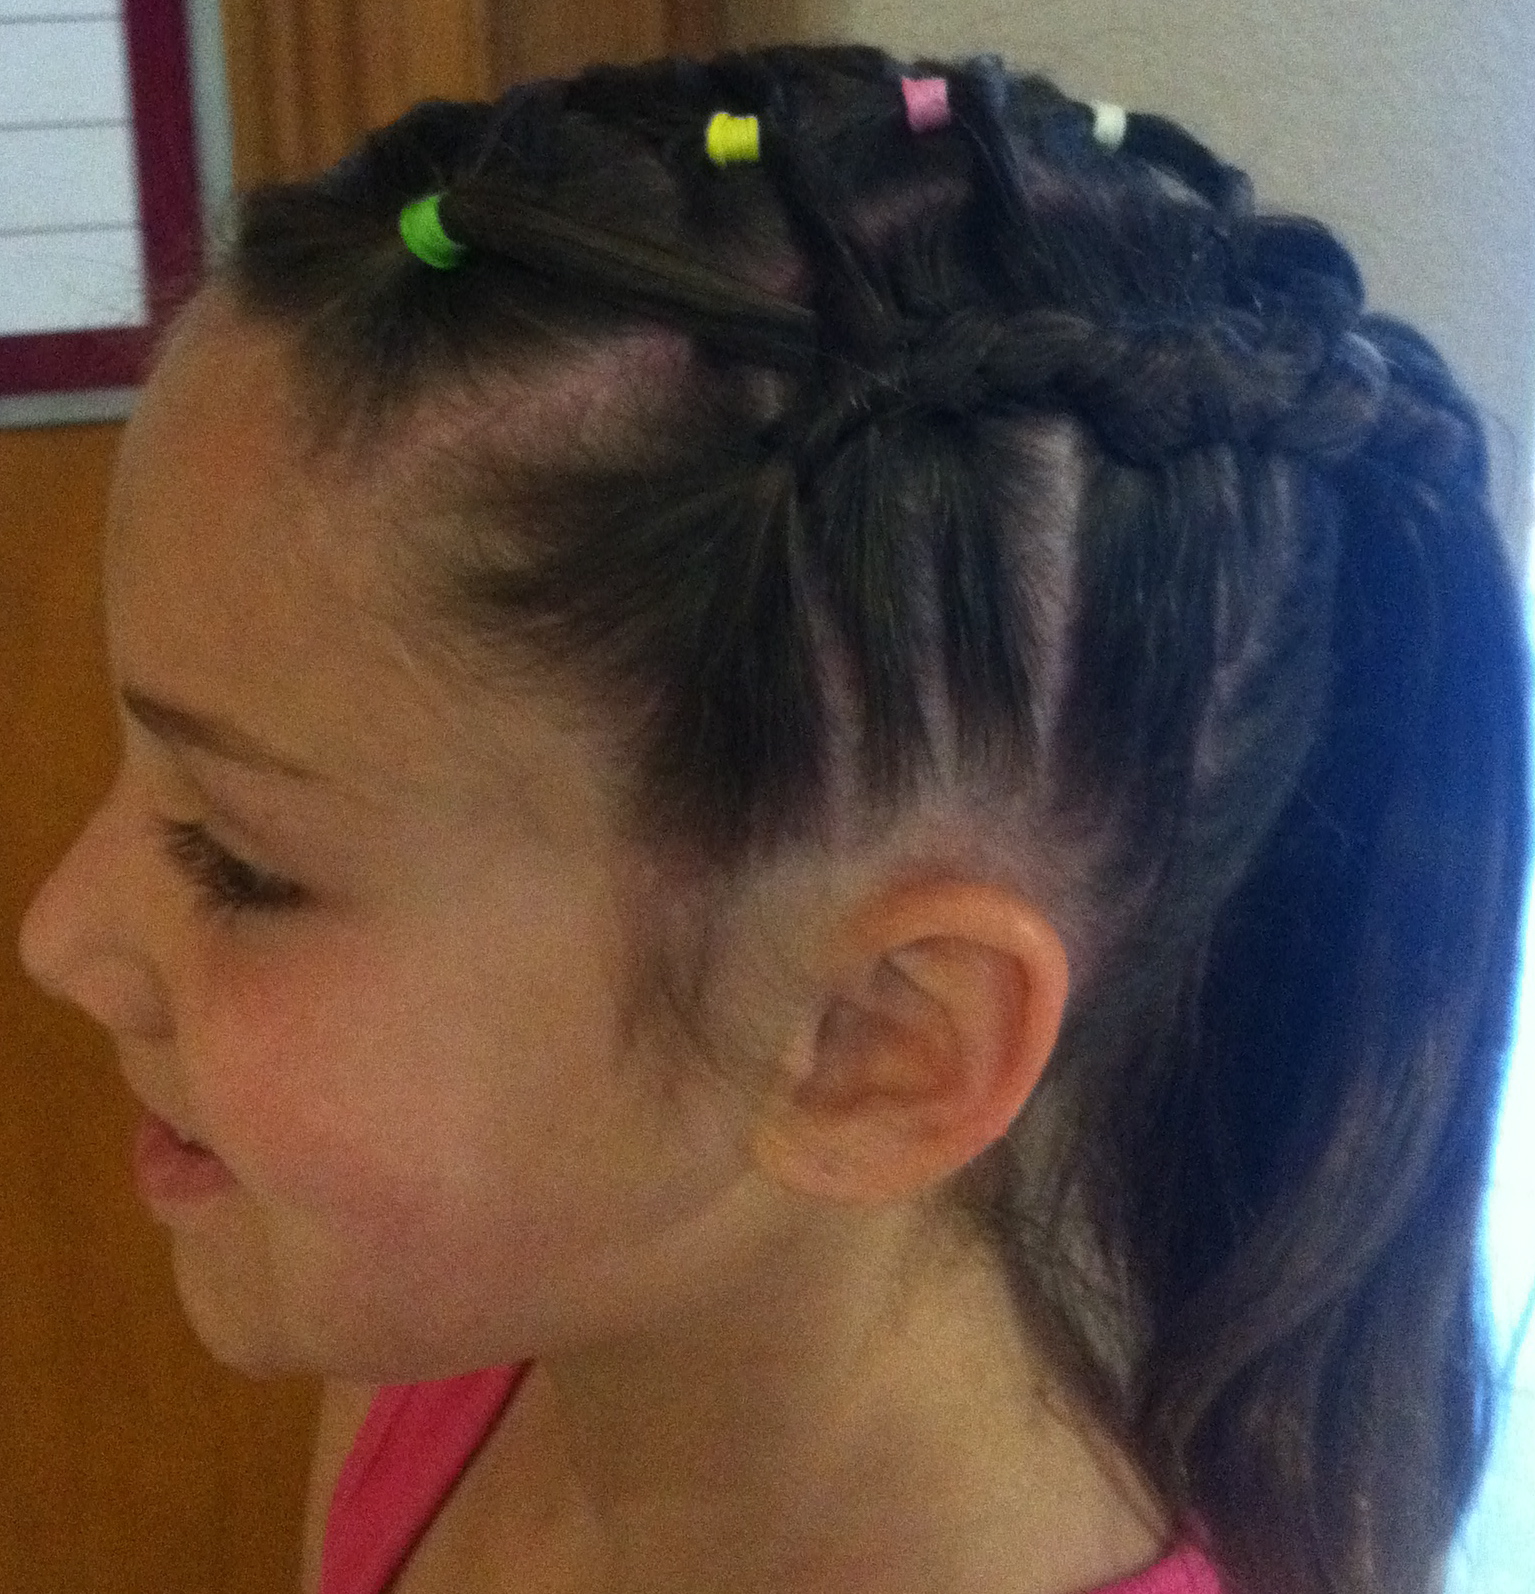
I don't think I could name this hairdo even if I tried, but it looks original, the kids loved it and it was easy enough that I completed 2 of them in 30 minutes on a school morning!  I always start with my most patient daughter (and by most patient I mean the most patient when it comes to hair... she can take a good hair pulling without drama!)

Simply section the hair into 3  rectangular sections (I recommend holding the outer sections with clips or ponytail holders so they don't get in the way).  I made the middle section a bit wider than the rest.  You can make them even or a bit off like mine.

Use the middle section and begin making small ponytails but pull them towards the left as you can see in this picture. I use different colored rubber bands so they show up.. this hairdo lacks a lot of it's flair if you can't see the rubber bands.  

After making 4 ponytails split each one in half.  Add the right half to the hair already sectioned on the right side and re-secure with the ponytail holder.

Now it is best if your child is seated in a somewhat higher chair for side french braids... this allows for them to have to tilt their neck the least (bar stools work best- or kitchen step stools).  Have them tilt their right ear slightly towards their right shoulder and start french braiding the section of hair on the left side... don't forget to work in the pieces of the ponytails! (I choose to do it with every other "add in" of hair)  I also choose to do the french braid by only pulling hair from one side.  This is where you pretty much do a regular braid  on the ear side and then pull the hair only when working from the opposite side.  It seems to look cuter and gives it a twisting look... Both ways will work.  Stop your braid about 1-2 inches past the last ponytail and switch sides.  (The second side ALWAYS goes faster!)
With the B&W you can see the "twisty" effect of pulling only from one side
Also, usually once you are past the ear your child will probably not have to tilt their head anymore... it is more important that they are not uncomfortable so if that means mom gets her squats in while styling than so be it  

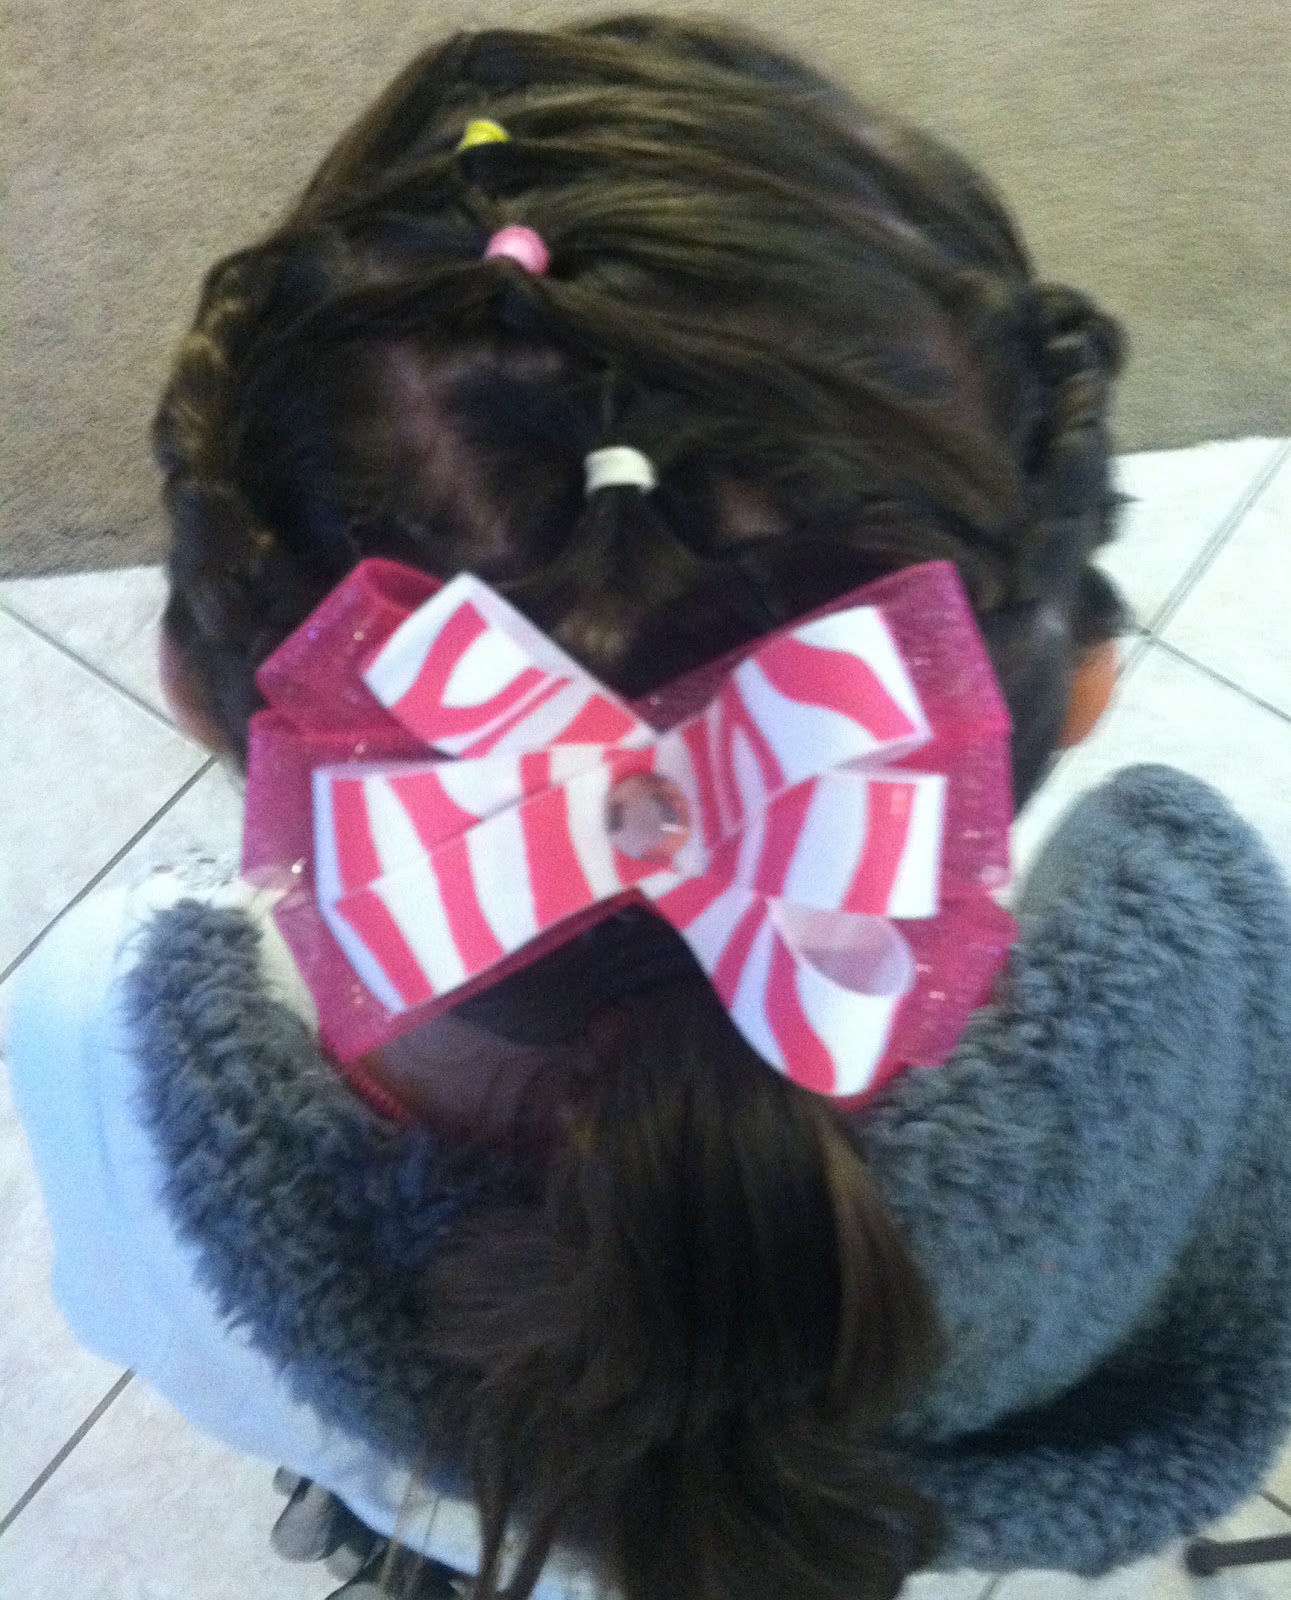
Once both sides are done, pull all the hair and the braids into a high ponytail.
HINT:  I like to have my daughters hold the braids for me and look down so I can get the ponytail together first without worrying about getting the brush/comb stuck on a braid (OUCH!).  Then, when I am ready to secure it, they let go of the braids and I add them in.  At this time if the braids are too long and continue into the ponytail simply pull out the rubberband holding the braid and comb it into the "tail" the braid before the ponytail holder will remain :-)   The of course ... the finishing touch... a great BOW!  
So of course by the time the bow went on we were rushing out the door for school so the jacket didn't show the long pony, but apparently her daily hairdos have become quite the topic of conversation (even the mom's want me to do their hair - although I believe they want wine involved!  LOL 


How to deal with those awful hair BUMPS!  


Remember when you were a kid and hated having "bumps" when you did a ponytail of a braid?  Well they still bug me!  Whenever you pull braids into buns or ponytails they almost always happen so you can do one of these
1.  Hide them with the bow
2.  In cases (like on this hairdo) where the bumps would be at the curve of the "crown of the head" secure with a minimal amount of bobbypins.... Minimal people!   Bobby pins are like painting... once you paint one room in your home you find yourself painting the whole house... don't do that to your poor kid.... place one or two loosely and as close to the braid so as not to create more bumps and you will be just fine!