Simply section the hair into 3 rectangular sections (I recommend holding the outer sections with clips or ponytail holders so they don't get in the way). I made the middle section a bit wider than the rest. You can make them even or a bit off like mine.

After making 4 ponytails split each one in half. Add the right half to the hair already sectioned on the right side and re-secure with the ponytail holder.
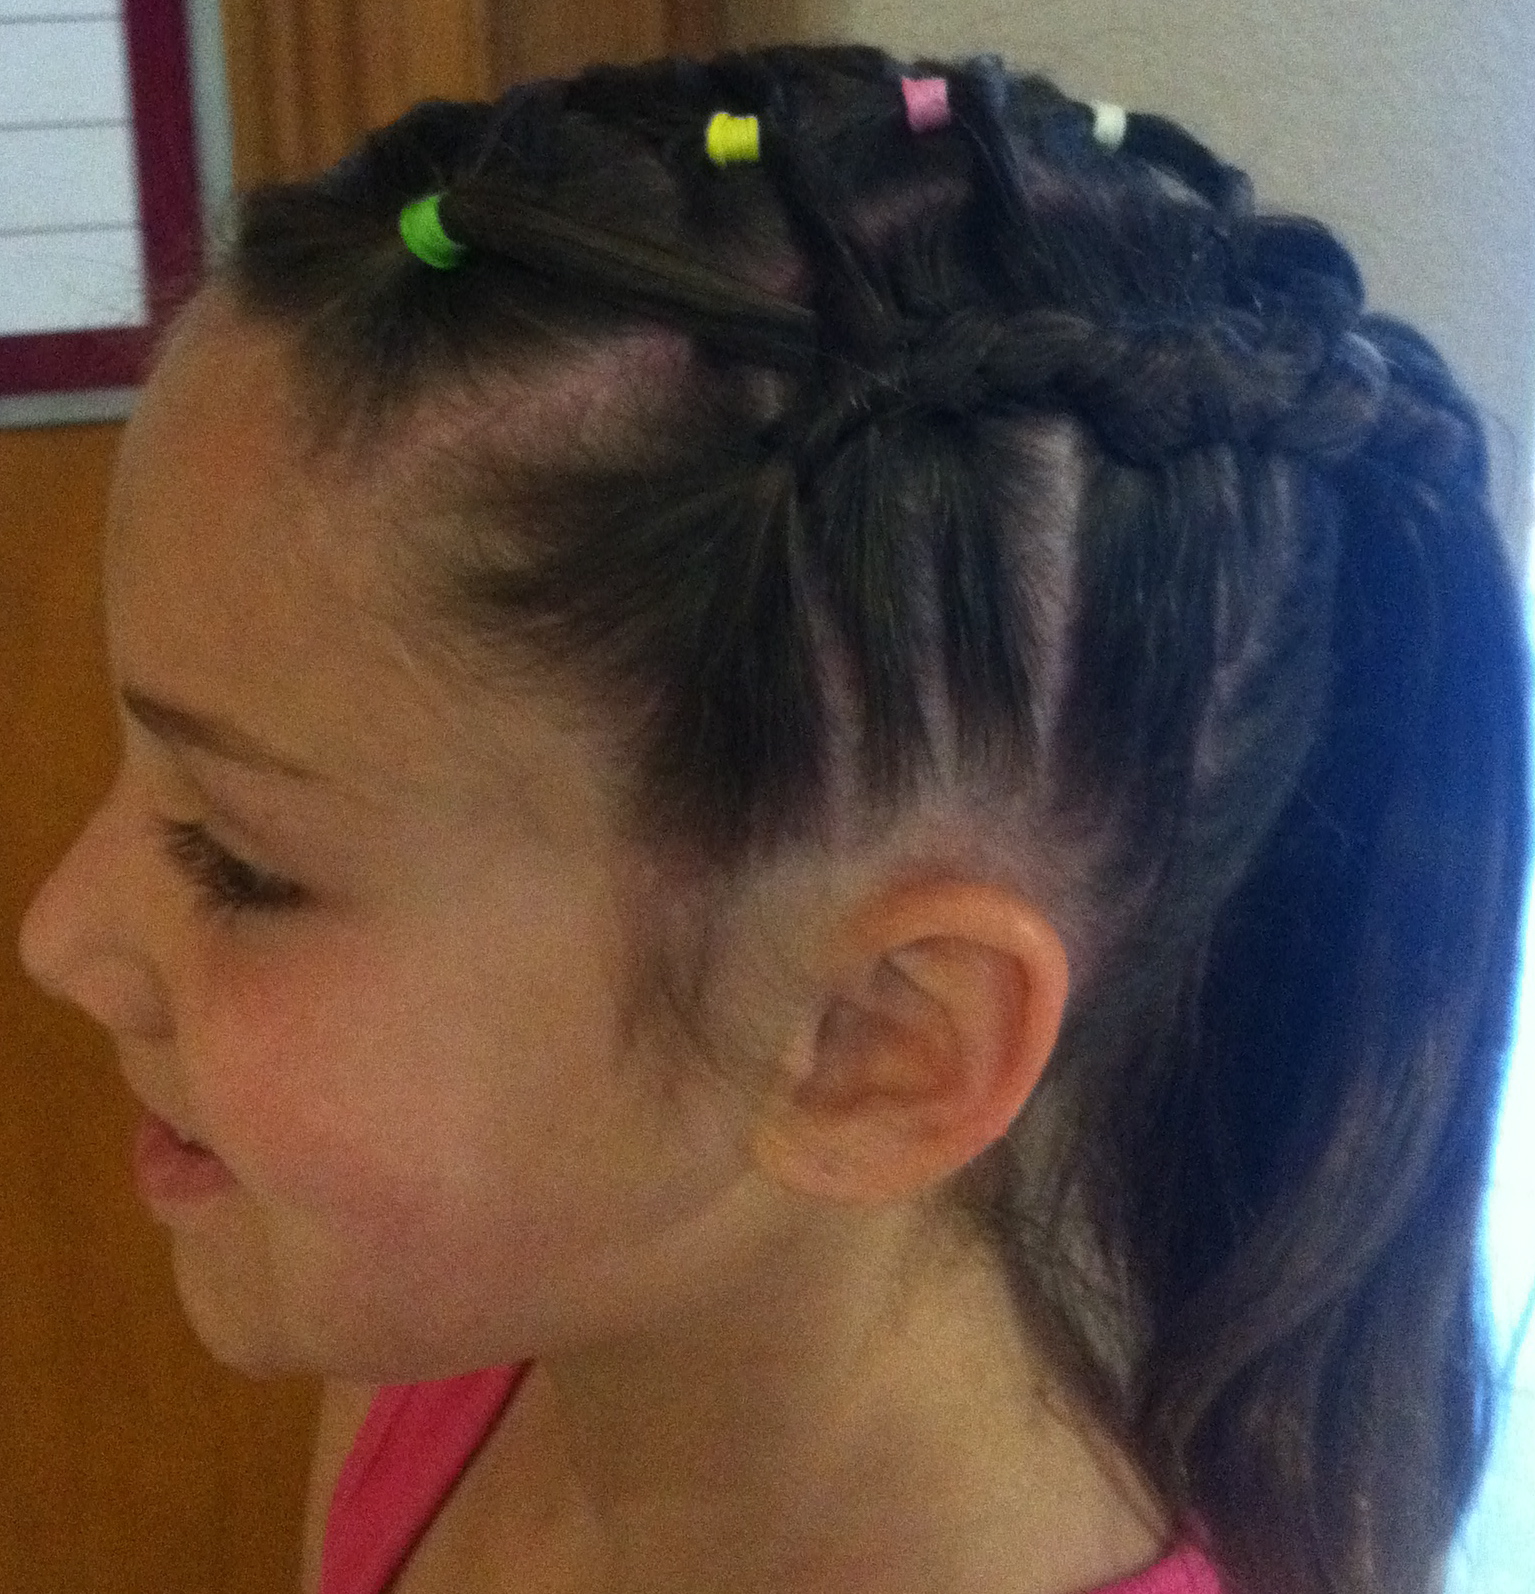
Now it is best if your child is seated in a somewhat higher chair for side french braids... this allows for them to have to tilt their neck the least (bar stools work best- or kitchen step stools). Have them tilt their right ear slightly towards their right shoulder and start french braiding the section of hair on the left side... don't forget to work in the pieces of the ponytails! (I choose to do it with every other "add in" of hair) I also choose to do the french braid by only pulling hair from one side. This is where you pretty much do a regular braid on the ear side and then pull the hair only when working from the opposite side. It seems to look cuter and gives it a twisting look... Both ways will work. Stop your braid about 1-2 inches past the last ponytail and switch sides. (The second side ALWAYS goes faster!)
 |
| With the B&W you can see the "twisty" effect of pulling only from one side |

 HINT: I like to have my daughters hold the braids for me and look down so I can get the ponytail together first without worrying about getting the brush/comb stuck on a braid (OUCH!). Then, when I am ready to secure it, they let go of the braids and I add them in. At this time if the braids are too long and continue into the ponytail simply pull out the rubberband holding the braid and comb it into the "tail" the braid before the ponytail holder will remain :-) The of course ... the finishing touch... a great BOW!
 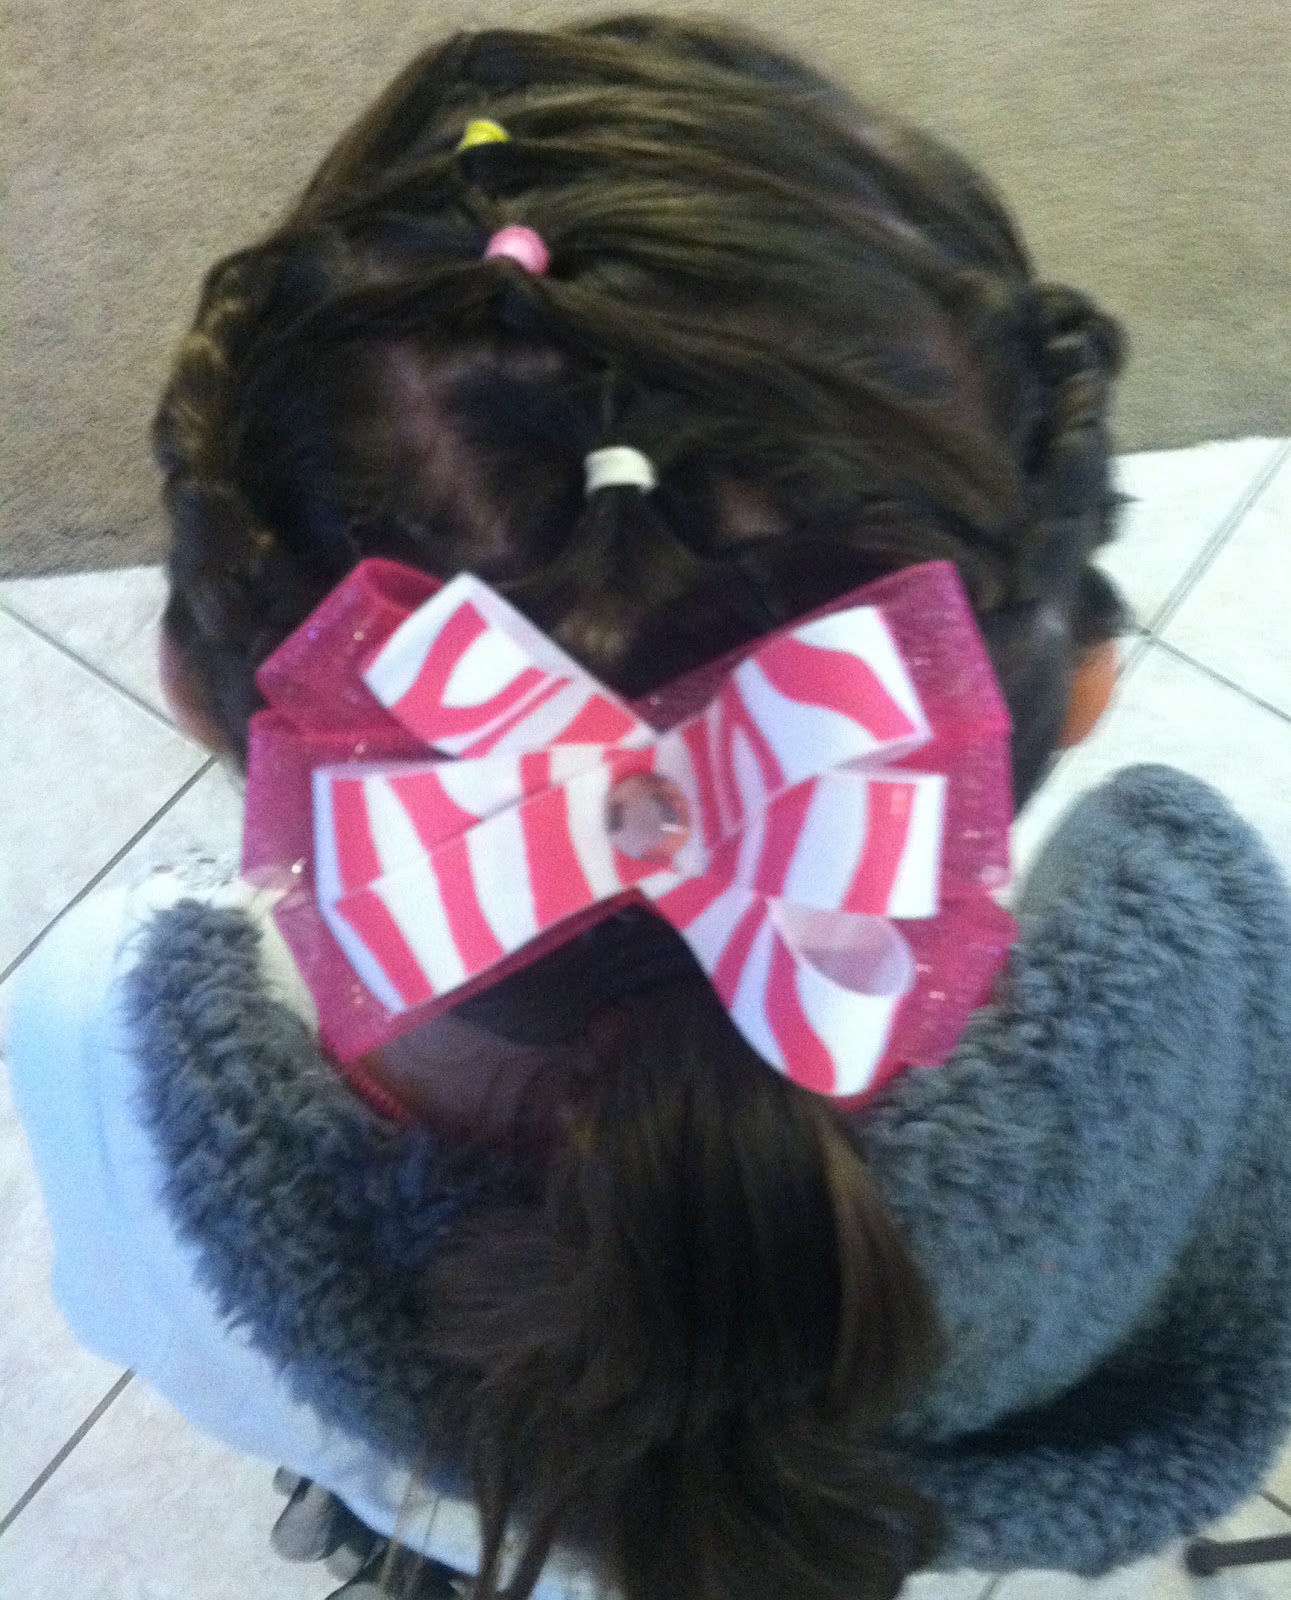 |
| So of course by the time the bow went on we were rushing out the door for school so the jacket didn't show the long pony, but apparently her daily hairdos have become quite the topic of conversation (even the mom's want me to do their hair - although I believe they want wine involved! LOL |
How to deal with those awful hair BUMPS!
Remember when you were a kid and hated having "bumps" when you did a ponytail of a braid? Well they still bug me! Whenever you pull braids into buns or ponytails they almost always happen so you can do one of these
1. Hide them with the bow
2. In cases (like on this hairdo) where the bumps would be at the curve of the "crown of the head" secure with a minimal amount of bobbypins.... Minimal people! Bobby pins are like painting... once you paint one room in your home you find yourself painting the whole house... don't do that to your poor kid.... place one or two loosely and as close to the braid so as not to create more bumps and you will be just fine!
No comments:
Post a Comment